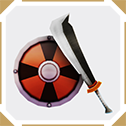
Two pieces of equipment for each hero can be found in every layer. This includes one piece of equipment with rarity levels ranging from Common to Super Rare, and one piece of Legendary equipment. You can obtain equipment by defeating monsters, opening treasure chests, or appraising Mementos back at Base Camp. Those that require appraisal typically have better stats. Good gear will serve you well as you descend even deeper into the Abyss, so try to find as much rare equipment as possible before entering the next layer.
First Layer Strategy Guide
The Forgotten Town at the topmost layer of the Abyss recalls
the old kingdom's lost history. The monsters here are a bit
weaker and act in predictable ways, making it the perfect
place to practice Silent Hope's combat basics. Try tackling
this layer with different heroes to decide which playstyle
suits you best. This page covers everything you need to
conquer the first layer of the Abyss, including what monsters
you'll encounter and which strategies each hero can use to
defeat the boss.
- Total Floors:
- 10
- Recommended Level:
- 10
Mechanics
Blocked Roads
Mysterious barriers block off certain paths. You must locate
a switch located somewhere on the same floor to drop the
barrier. These floors are usually larger and teeming with
monsters, making it more difficult to proceed. Activate
switches by attacking them. Hordes of monsters often guard
them, but you can simply try to avoid them if hitting the
switch is your primary goal.
Bomb Barrels
Once attacked, these bombs will explode after a set period
of time, letting you quickly deal with any monsters nearby.
However, you'll take a ton of damage if you're caught in the
blast radius, so confirm your escape route before setting
one off. Take advantage of these barrels in a variety of
ways, such as by luring in a horde of monsters and exploding
them, or using skills like the Caster's Black Hole to suck
them all into the blast. You can take out most monsters in
the first layer with a bomb barrel, but this strategy will
prove less effective against stronger foes deeper in the
Abyss.
Events
Once in a rare while, you'll land on a floor with way more
monsters than usual. Rather than take them all on at once,
try escaping down a corridor and funneling them through it
one at a time. If you end up on one of these floors with low
HP, prioritize finding an exit over fighting your way out.
Memory Rifts
Memory Rifts let you travel to special floors where powerful
monsters lurk. More difficult floors will reward you with
valuable items. If you have enough HP and Healing Potions,
take on the challenge! Even if you haven't quite hit the
recommended level for that rift, good gear and sound
strategies can make all the difference. Try clearing a
Memory Rift multiple times to obtain lots of rare items.
Blackstone Statue Trials
These mysterious statues offer various trials and rewards
for clearing them. You won't lose much of anything for
failing one, so take on as many trials as you can. You can
conquer most of these trials with careful planning, although
damageless trials can be challenging. Watch your step and
avoid ranged attacks if you want to clear those trials.
Hidden Runes
Each layer contains a special object that reflects the
atmosphere of that floor. Attack this object to earn lots of
runes. You can find the object for the first layer in a
glittering pool. Higher difficulty settings make these
objects yield more runes.
Notable Monsters
 Wooloids
These monsters have lots of HP and long-ranged tracking
projectiles, making them tough to take down, especially in a
group. Take advantage of their slower movement and attack
speed to knock them out on sight, or focus on picking off
weaker monsters in their horde before they notice so you can
fight them one-on-one.
Penny Pincer & Poison Bee Hordes
Penny Pincers often fight in groups with two Poison Bees. If
you fail to take out the formidable Penny Pincer fast
enough, the toxins from the Poison Bees' ranged attacks will
drain your HP before long. Thankfully, Poison Bees have much
less HP than the Penny Pincers, so focus on taking them out
first. Since Penny Pincers hit pretty hard, take care to
avoid their attacks. Watch for when they raise their pincers
and dodge out of the way.
Notable Floors
Floor 5: First Forced Battle
Each layer has floors where you must defeat a monster
swarm to proceed. A force field will surround the arena
until all the monsters have fallen. On Floor 5 of the
first layer, you'll face two monster swarms:
● 2
Gecko Knights, 1 Gecko Pikeman, 1 Gecko Rogue, 2 Gecko
Archers
● 3 Woolies, 2 Poison Bees
Prioritize
the ranged attackers to thin out the herd while dodging
attacks. Once you take out the Gecko Archers and Poison
Bees, you'll have an easier time dealing with the rest.
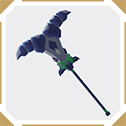
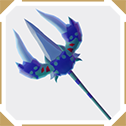
Legendary Equipment
-
Wanderer Gear:
- Club Sword
- Attack: 19-25
-
Warrior Gear:
- Solidshell Broadaxe
- Attack: 21-27
-
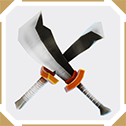
Rogue Gear:
- Shell Splitters
- Attack: 17-23
-
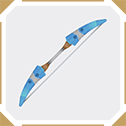
Archer Gear:
- Eremita
- Attack: 16-19
-
Farmer Gear:
- Bubbly Sun
- Attack: 13-16
-
Fighter Gear:
- Grave Tempo
- Attack: 11-14
-

Caster Gear:
- Fractus
- Attack: 15-21
-

Ring:
- Happy Ring
- Defense 25-31
-

Earring:
- Country Earring
- Defense: 14-16
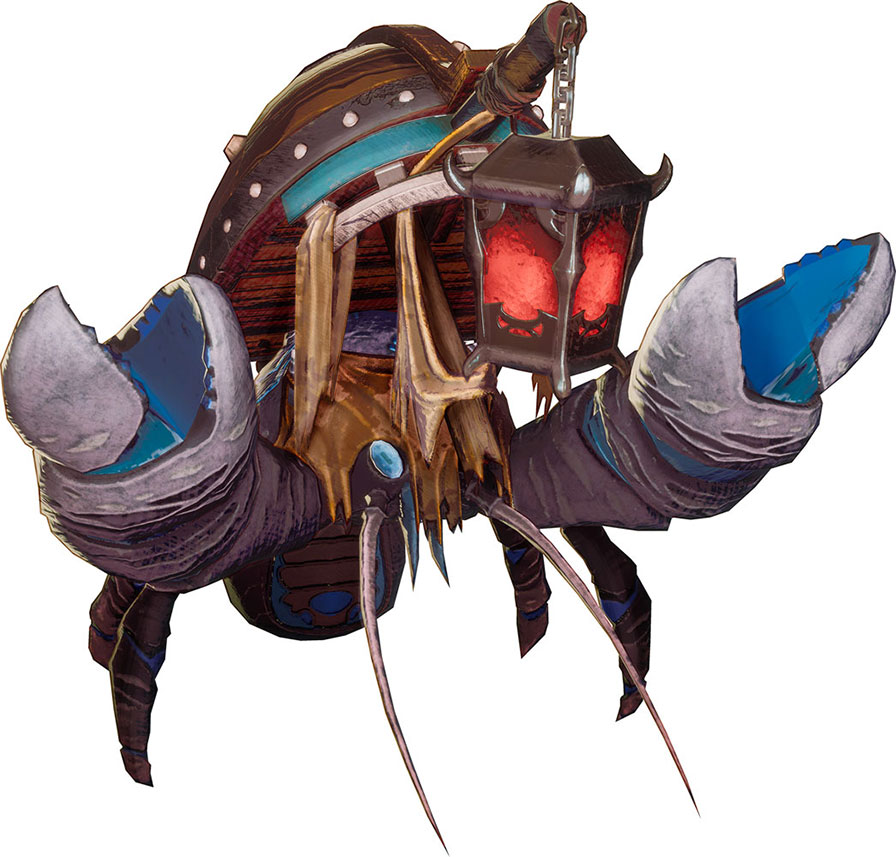
Boss
Crooked Crab
Crooked Crab
A monstrous coconut crab wearing a shipwreck for a shell.
Uses its massive pincers and sturdy outer shell to inflict
heavy damage, and fires heat-seeking water projectiles to
restrict its prey's movement. After taking a certain amount
of damage, the Crooked Crab will pull back and send in a
horde of Penny Pincers to do its bidding, all while still
unleashing a barrage of water and lightning attacks. It
begins twisting its body when charging up for a devastating
spin attack that'll destroy everything in its path. Keep
well out of its way when this happens. Both the Warrior and
Fighter can exploit the Crooked Crab's weak points.
Wanderer Strats
Execute Iron Wall to raise your defense, then maneuver
around the Crooked Crab to find an opening between its
attacks. Use offensive skills like Spin Slash and Shield
Tackle as soon as your skill gauge is full to maximize your
damage output. Stunning with a Shield Tackle and following
up with a flurry of normal attacks can also prove effective.
If you struggle to dodge the crab's water bullets, consider
letting up your attack and running around until they
disappear.
Warrior Strats
Flank the Crooked Crab from behind, execute two regular
attacks, then retreat and repeat. Her powerful blows easily
chip away at the crab's armor, allowing her to down it in
fewer hits. For skills, follow up a Howl with Fell Swoop to
deliver massive damage while it's stunned. Charge lets you
maneuver behind the crab while also dealing damage, but if
you get stuck, you'll have more trouble avoiding incoming
attacks. If you struggle to dodge the crab's water bullets,
consider letting up your attack and running around until
they disappear.
Rogue Strats
Start with Ring of Daggers, then use Quick Strike to move
behind the crab and hit it with regular attacks. The Rogue
excels at evasion and can dodge most of the Crooked Crab's
tricks with proper timing. Ring of Daggers increases her
damage output, while Quick Strike lets her swiftly circle
around behind the enemy. Use these skills as soon as her
skill gauge is full. Flurry of Blows is risky because it
leaves you vulnerable to the Crooked Crab's more devastating
attacks. Better to save it until you've just dodged a
powerful attack, or avoid using it altogether if a big hit's
coming your way. Flurry of Blows also can't do much when
faced with water projectiles, so just pull back and run
around until they disappear.
Archer Strats
As usual, the Archer strives to stay away from his quarry
while using his Rapid Fire and Spread Shot attacks. Time his
shots carefully while dodging the crab's attacks, keeping in
mind that even a single hit from one of those pincers will
devastate someone with so little defense. A Bear Trap can
lower the enemy's defenses to help deal some extra damage,
but it also takes time to set up and won't slow down the
Crooked Crab at all. However, a well-placed trap will help
keep the crowd of Penny Pincers under control, so try
setting one up when you're a good distance away from the
Crooked Crab. Finding a safe place to stand during the water
bullet bombardment can be tough, so consider running until
they disappear instead.
Farmer Strats
Use Snack Time to boost your stats, then circle around the
Crooked Crab while firing off regular attacks and the
occasional Outta My Way! When timed correctly, Outta My Way
is especially effective since it can hit multiple times,
inflict heavy damage, and stun enemies. Butterfly Buddy
takes a moment to activate, so use it wisely. But if you do
find an opening, it can damage your foes over time with
poison. The Farmer is quick on her feet and can avoid the
water projectiles more easily than the other heroes. Knowing
when to dodge between your attacks is the key to claiming
victory.
Fighter Strats
Circle behind the Crooked Crab while dodging its claws, then
use your regular attacks and skills. The Fighter has lots of
good options for this battle. Fancy Footwork's speed boost
makes it easier to avoid incoming attacks, and her
tried-and-true combo of Grapple and Power Punch will do
massive damage. Since she can hit the Crooked Crab right
where it hurts, she's one of the best heroes for this
particular battle. Fancy Footwork also helps her avoid the
crab's water projectiles, so she can attack and dodge with
ease.
Caster Strats
The Caster should default to ranged skills like Magic Sphere
and Explosion while always keeping a safe distance. Since
both skills have a long cooldown period, space out your
attacks more than usual. The powerful Magic Sphere hits
multiple targets, so consider leveling up this skill
beforehand. While a well-placed Black Hole deals more
concentrated damage, the Crooked Crab can easily move
outside its range. Combined with its long cooldown timer,
this skill just isn't very effective in this fight. Since
the Caster struggles with close combat situations, the
Crooked Crab might give him more trouble than other heroes.
You'll prove victorious if you use the right gear, make
sound tactical decisions, and balance casting spells with
running between water projectiles.