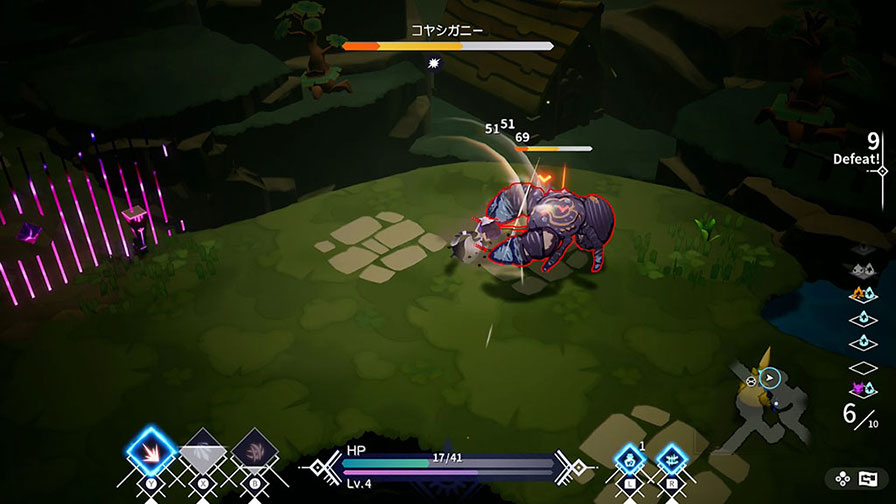
Battle Basics
The Abyss is teeming with monsters that will impede your
progress.
You must defeat them if you want to reach the King.
And to do that, you'll need to master your weapons and skills.
This page covers all things combat, from basic battle strategies to specific recommendations for each hero.
You must defeat them if you want to reach the King.
And to do that, you'll need to master your weapons and skills.
This page covers all things combat, from basic battle strategies to specific recommendations for each hero.
Beginner FAQs
"Monsters swarm me the second I step into the Abyss!"
 ① Keep your distance
Silent Hope's most basic battle strategy is hit and run. In
other words, land a decent number of hits, dodge incoming
attacks, then rinse and repeat. If you stay in combat range
for too long, monsters will simply chip away at your HP. The
key to victory lies in dishing out more damage than you
take.
② Use your skills!
You have access to many powerful skills, some of which can
deal a lot of damage at once. While each skill has a
cooldown timer, they have unlimited uses. Don't let them go
to waste—use them as often as possible for max damage!
"I can't dodge monsters' attacks!"
① Memorize attack patterns
Observe how monsters move in set patterns when they're
preparing to unleash an attack. As soon they start winding
up, that's your cue to dodge or dash out of the way! Since
you have limited health recovery options, you want to avoid
taking unnecessary damage.
② Watch their movements
Keep a close eye on not only your hero, but also the
battlefield itself. Take careful note of monsters'
positions, movements, and attack patterns to decide when you
should hit or run. Monsters with ranged attacks can be
especially dangerous, so prioritize taking them out first.
Although you'll probably focus most of your attention on
your hero when starting out, once you master the controls,
revise your strategy to cover the field as a whole.
"How do I recover HP?"
① Use Healing Potions
Use Healing Potions whenever you want by pressing the L
Button, or save them in order to automatically heal up if
you're KO'd. Keep in mind that Healing Potions recover more
HP when you use them yourself. Any consumed after you're
KO'd will only restore a quarter of your max HP. We
recommend using one when your health falls below 50%. Each
hero can carry up to two Healing Potions, which they
automatically equip before each expedition.
② Pet animals
Heal up by interacting with animals that you encounter while
exploring the Abyss. Some will restore a set amount of HP,
while others will fully heal you and give you an additional
Healing Potion if you're running low. If you're doing fine
on HP, consider talking to them later, when you need their
help most.
"How do I get past this tough monster?"
① Level up by defeating other monsters
Each hero has their own level, and you won't lose any
experience by leaving the Abyss. Level up to increase their
base attack and defense stats, as well as improve their
skills. If you find yourself struggling against a
particularly strong monster, try returning to an earlier
floor and defeating weaker ones to level up.
② Get better gear
You can find legendary-grade equipment in each layer of the
Abyss. These pieces are far more powerful than your regular
equipment, and make future expeditions much easier. Some
monsters drop rare equipment. You might also discover such
items inside purple treasure chests. Keep exploring the
Abyss, leveling up, and finding rare equipment to make your
heroes stronger.
③ Upgrade your equipment
Visit the Forge at Base Camp to upgrade your equipment by up
to five levels using runes and Booster Parts. You can even
upgrade your basic equipment, which takes less time than
leveling up or hunting down rare gear. Desynthesize
equipment and Mementos to receive Booster Parts. Use them at
every opportunity to stay one step ahead of your foes!
④ Master skill combos
Your skills include powerful single-target attacks, ranged
multi-attacks, status ailment-inflicting attacks, personal
buffs, and more. You can activate some skills immediately,
while for others you must wait for the cooldown timer to
expire first. Each hero can set three skills at once. Since
novice adventurers can only learn three skills, you might as
well use them all early on! As your heroes access new
classes and learn new skills, try to find a good balance in
order to take advantage of a wide range of effects.
"Should I swap characters mid-dungeon?"
① Tag-team your way to victory!
Swap heroes by examining the crystal teardrops scattered
throughout the Abyss. If one hero is on the brink of
collapse, you can still continue your expedition by swapping
to another hero at full HP. To get the most out of your
adventures, try leveling up at least two or three of your
favorite heroes.
② Take advantage of swap bonuses
When swapping between heroes in the Abyss, the departing
hero will cheer on the one taking their place by providing a
useful buff. From the Fighter's strength boost to the
Rogue's increased rune drop rate, these buffs will make any
adventure go more smoothly. Since these buffs stack and are
shared across heroes, try swapping between multiple people
on a single adventure. More advanced classes grant more
powerful buffs, so it's worth leveling up each hero.
| Wanderer's Buff | Defense: +30.0% |
|---|---|
| Warrior's Buff | Max HP: +20.0% |
| Rogue's Buff | Rune Gain: +20.0% |
| Archer's Buff | Crit: +30.0% |
| Farmer's Buff | Dodge: +15.0% |
| Fighter's Buff | Strength: +30.0% |
| Caster's Buff | Magic Resistance: +30.0% |
If you collapse while in the Abyss, you'll return to Base
Camp but lose some of the items you found. Don't
worry—you'll keep all the experience you've gained!
Battle Styles
Wanderer:
Quick & Speedy
Quick & Speedy
Keep moving while combining regular attacks and skills
to rack up damage
The Wanderer is a well-rounded, versatile fighter who's
light on his feet and easy to control. While his individual
attacks may not pack much of a punch, he excels at landing
consecutive blows while avoiding enemies. Increase his
damage output by equipping weapons with an attack boost,
upgrading his sword, or attaching a Magistone that exploits
an enemy's weakness.
Send foes flying with a Shield Tackle
When surrounded by multiple monsters, try activating Iron
Wall before rushing in with a Shield Tackle. After stunning
your enemies, finish them off with a Spin Slash. Note that
while Shield Tackle is an effective way to stun your foes,
you can only charge in a straight line. Use the Left Stick
to aim at your target. If you want to prioritize attack
power, focus on improving the skill level of his Spin Slash
and Shield Tackle skills.
Warrior:
Raw Power at Close Range
Raw Power at Close Range
Make every mighty hit count
The power-focused Warrior tears through enemies with broad
horizontal slashes and even stronger overhead strikes.
Winding up for larger attacks leaves her vulnerable, so
position yourself carefully and keep an eye out for openings
to avoid taking too much damage. Focus on equipment that
boosts attack and movement speed to increase her mobility.
Since she prefers close combat, she may struggle with
enemies that keep their distance. When confronting them, try
quickly chaining horizontal slashes to close the gap.
Charge in with a Howl
Nail your combo by rushing in with Charge, stunning enemies
with Howl, and destroying them all with one Fell Swoop. Even
regular attacks can do significant damage to stunned
enemies. Regardless of your strategy, make full use of the
Fighter's raw power and wide attack range. Upgrade both
Charge and Fell Swoop to improve their attack power, and
Howl to reduce its cooldown timer. Experiment with all your
skills and use whatever best fits your fighting style. Since
your most powerful skills often have longer cooldown timers,
equip gear that reduces them.
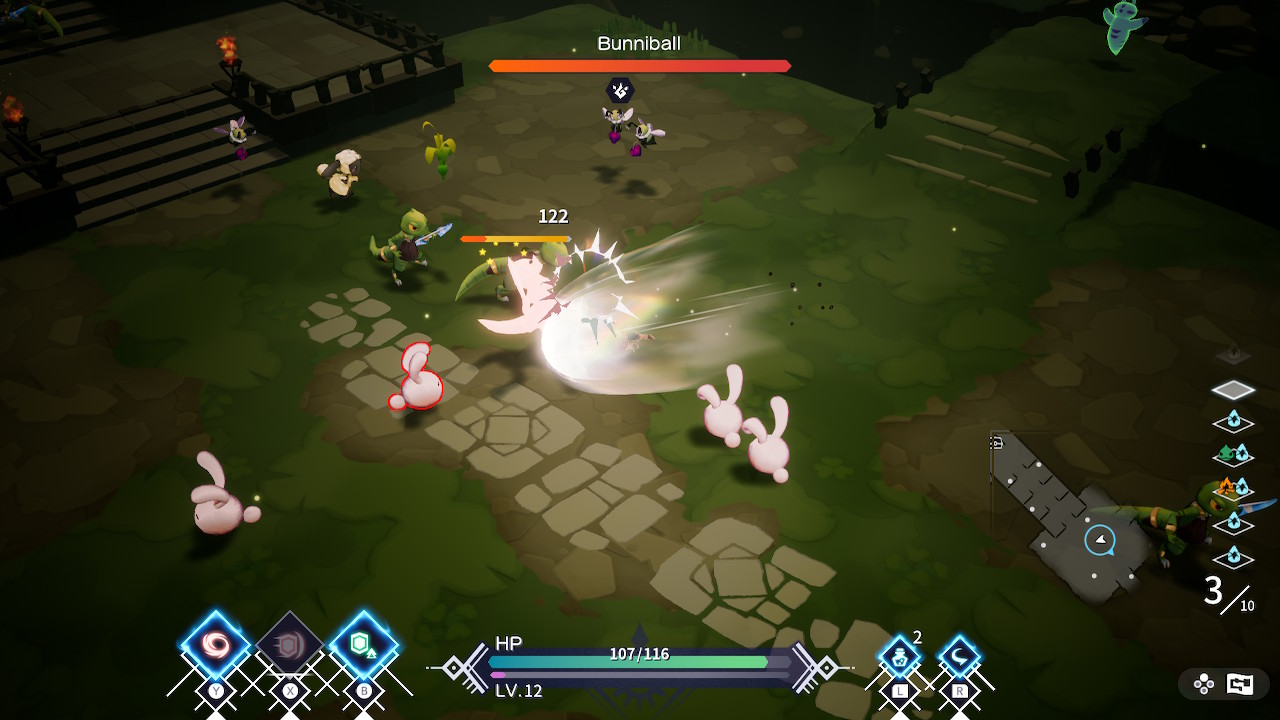
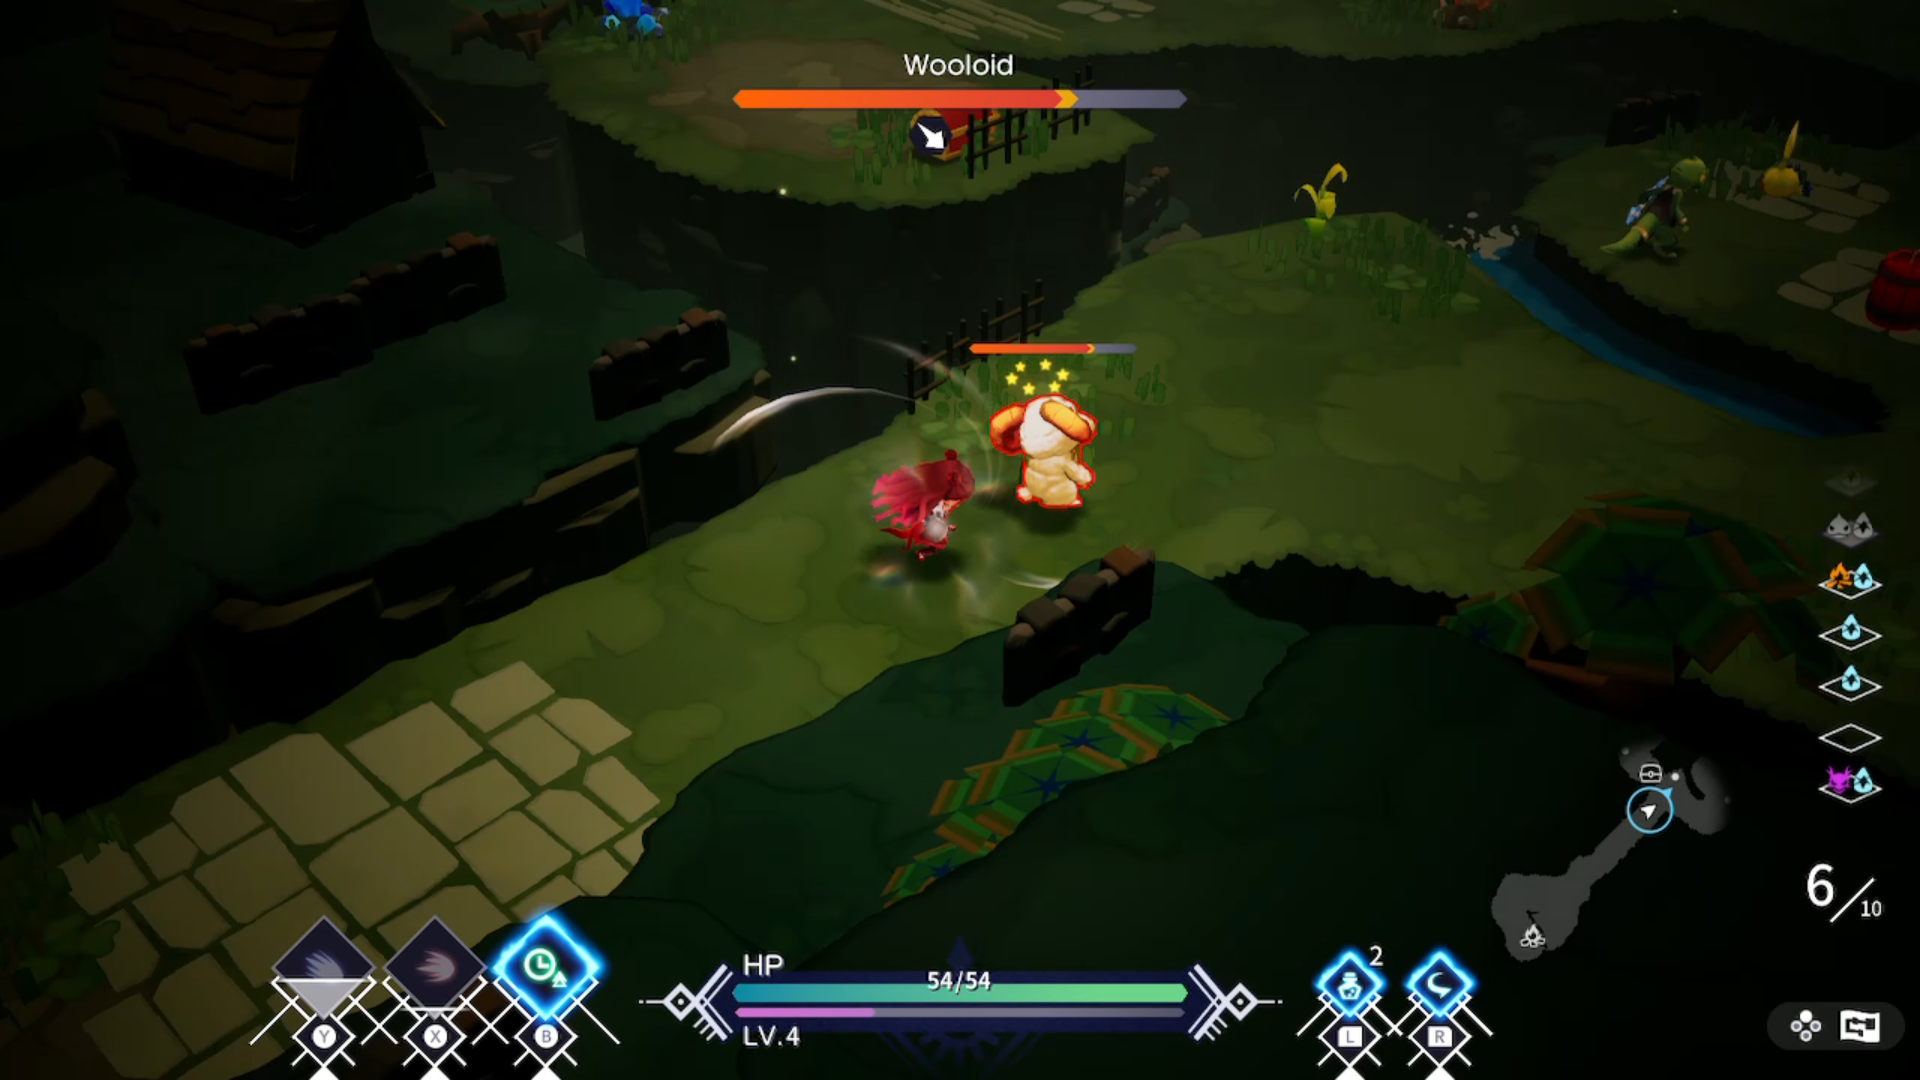
Rogue: A Barrage of High-Speed Hits
Make up for lower defense and attack range with extra
evasion
The Rogue can instantly fell enemies with her speedy attacks
and skill combos. However, since many of them follow a
straight line at minimal range, going on the attack can
leave her very vulnerable. Dodging incoming attacks is the
key to victory. To better protect her when under fire, equip
items that further improve her evasion and mobility.
Deal big damage with Ring of Daggers and Flurry of
Blows
Increase your damage output with Ring of Daggers, then
follow up with Flurry of Blows for a lethal combo. Note that
Flurry of Blows leaves her wide open to enemy attacks, so
time it carefully. Quick Strike is a powerful stand-alone
skill that boosts evasion. Try using it early to provide
more cover for Flurry of Blows. To make her even deadlier,
prioritize upgrades for Quick Strike and Flurry of Blows.
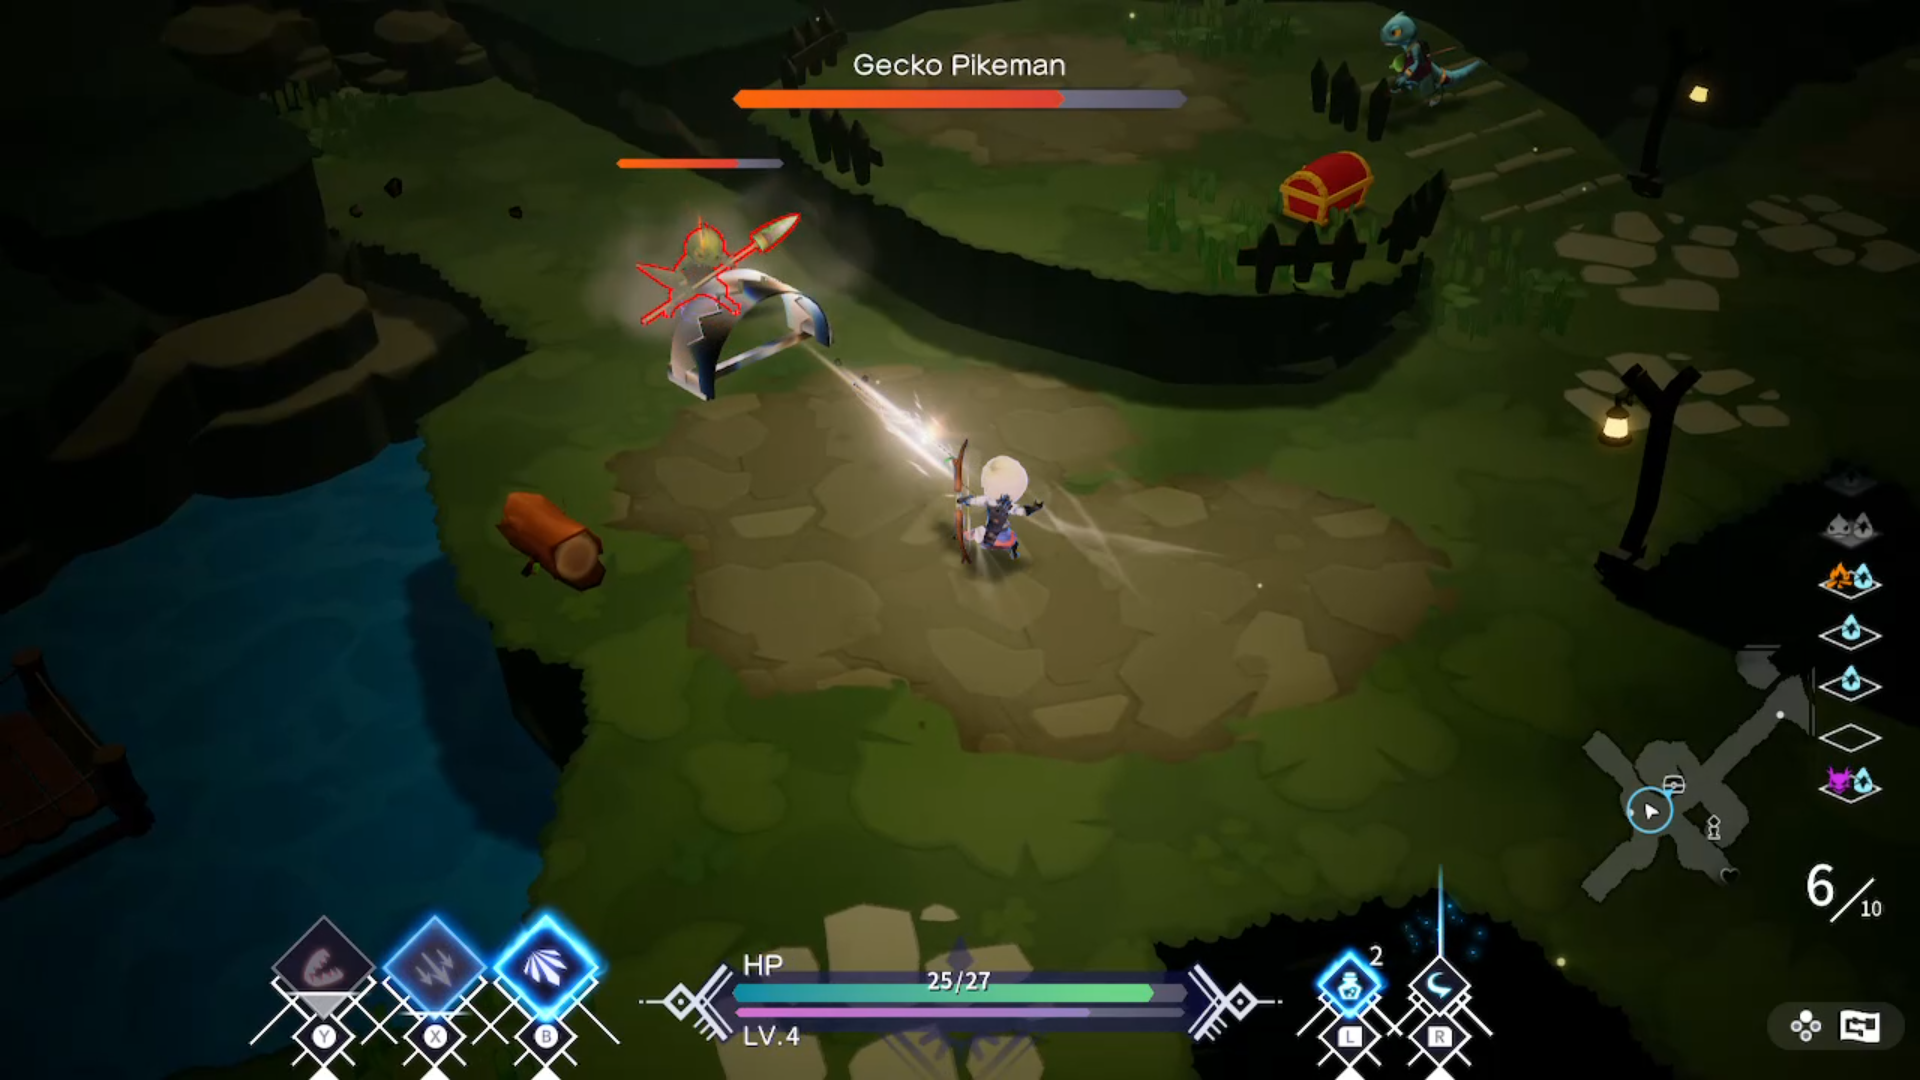
Archer:
Keep Enemies at Bay with Long-Ranged Attacks
Use the distance to your advantage
The Archer's well-balanced skillset focuses on flexible
ranged attacks. Since his defense is low, put some distance
between him and his enemies to avoid their blows. You can
compensate for his lack of firepower with gear that boosts
his damage output. Rather than take on a group of enemies
all at once, pick them off one at a time by funneling them
through narrow chokepoints.
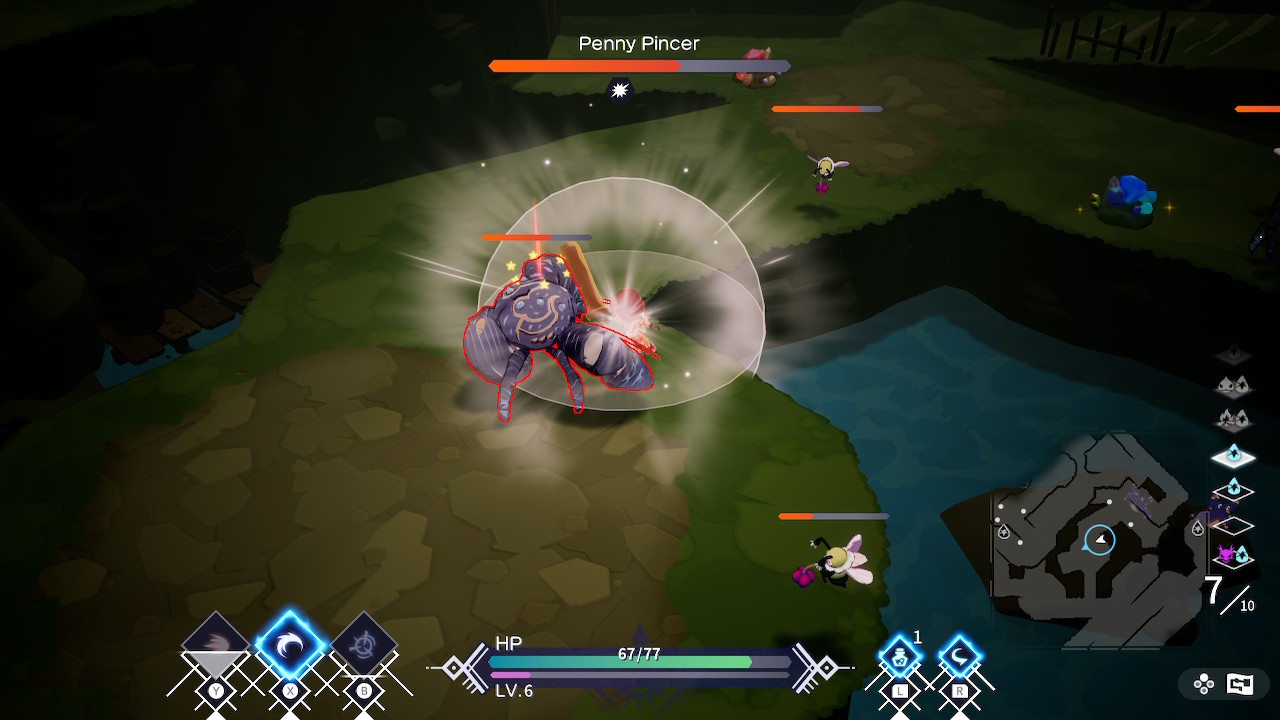
Catch enemies in a Bear Trap and finish them off with
Rapid Fire
If monsters are after you, stop them in their tracks with a
Bear Trap, then follow up with a combination of regular
attacks and Rapid Fire to finish them off. And if that's not
enough, give yourself some space with Spread Shot before
laying down another Bear Trap. Focus on leveling up his
Rapid Fire skill if you're prioritizing power above all
else.
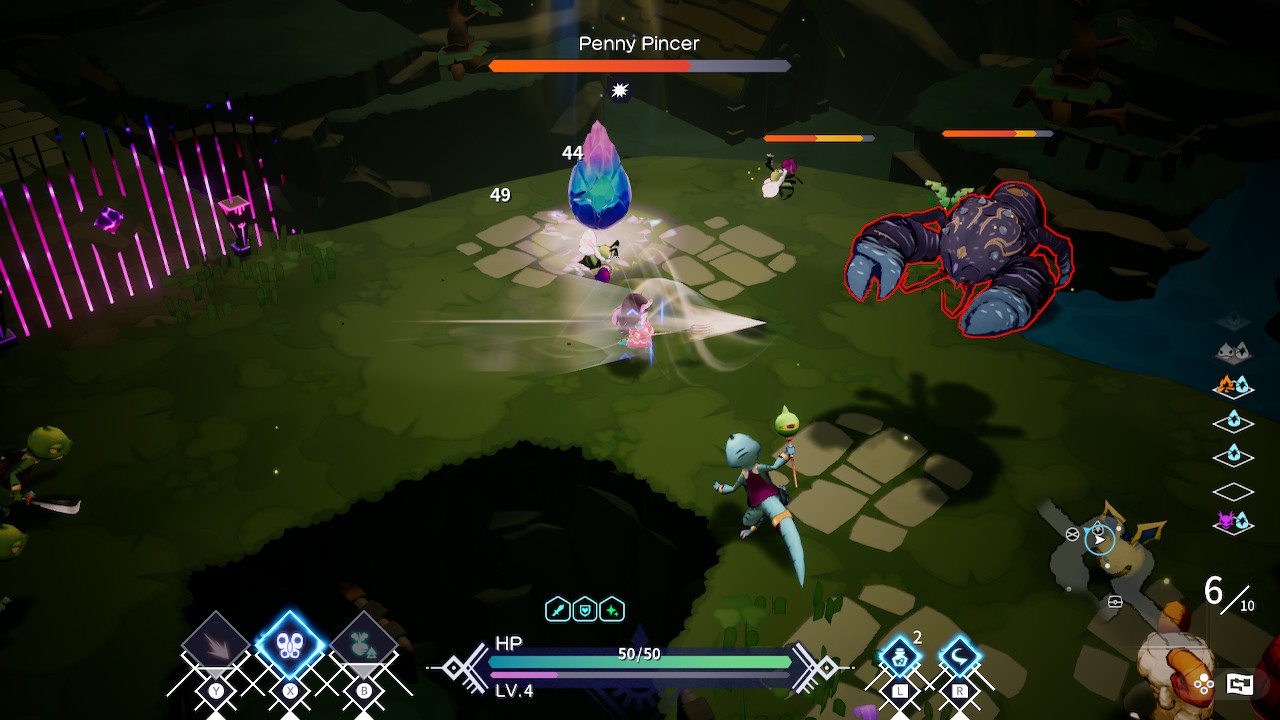
Farmer: Confuse Enemies with Quirky Tactics
A whole different approach to combat
The Farmer's go-to strategy is outwitting the enemy. Use
mostly regular attacks while also supporting yourself with
your skills. She boasts a unique regular attack: a
three-step forward lunge with her trident, followed by a
step backward. This lets her strike repeatedly while keeping
enemies at arm's length. Since her skills don't really boost
her damage output, equip her with gear that increases attack
power.
First, Snack Time! Then get Outta My Way!
Snack Time is a quick way to enhance a random stat before a
battle begins. Follow up with Outta My Way to send monsters
flying, then use regular attacks to pick off whoever's
weakest. If you're still outnumbered, summon a Butterfly
Buddy to distract some of the monsters. Landing hits with
her requires some precision, so consider your position and
timing before striking. Since all her unique skills have
their own benefits, level up whichever you use most.
Fighter: Powerful Skills that Pack a Punch
Single out enemies for a pummeling
The Fighter compensates for her narrow attack range with
punishing blows. To deal the most damage possible, slip in
and out of the fray while avoiding any hits. She struggles
to strike down multiple enemies, so don't let them surround
you. Any equipment that boosts her attack power and speed
will serve her well.
Grapple 'em before delivering a Power Punch!
Draw the enemy close with a Grapple to stun them, then
follow up with a Power Punch. Fancy Footwork boosts her
attack and movement speed, letting her take more swipes at a
grappled foe. While Power Punch has a long wind-up, it
consistently delivers big damage, so consider leveling up
this skill first.
Caster: Attack From Afar with Mighty Spells
Careful positioning makes up for slower speed
While the Caster can sling spells from a distance, his slow
attack speed makes him an easy target. For that reason, keep
him well away from any enemies, placing him in advantageous
areas that let you cast as many spells as possible. Consider
equipment that improves his low defense and evasion or
boosts his already powerful skills to take down enemies even
faster.
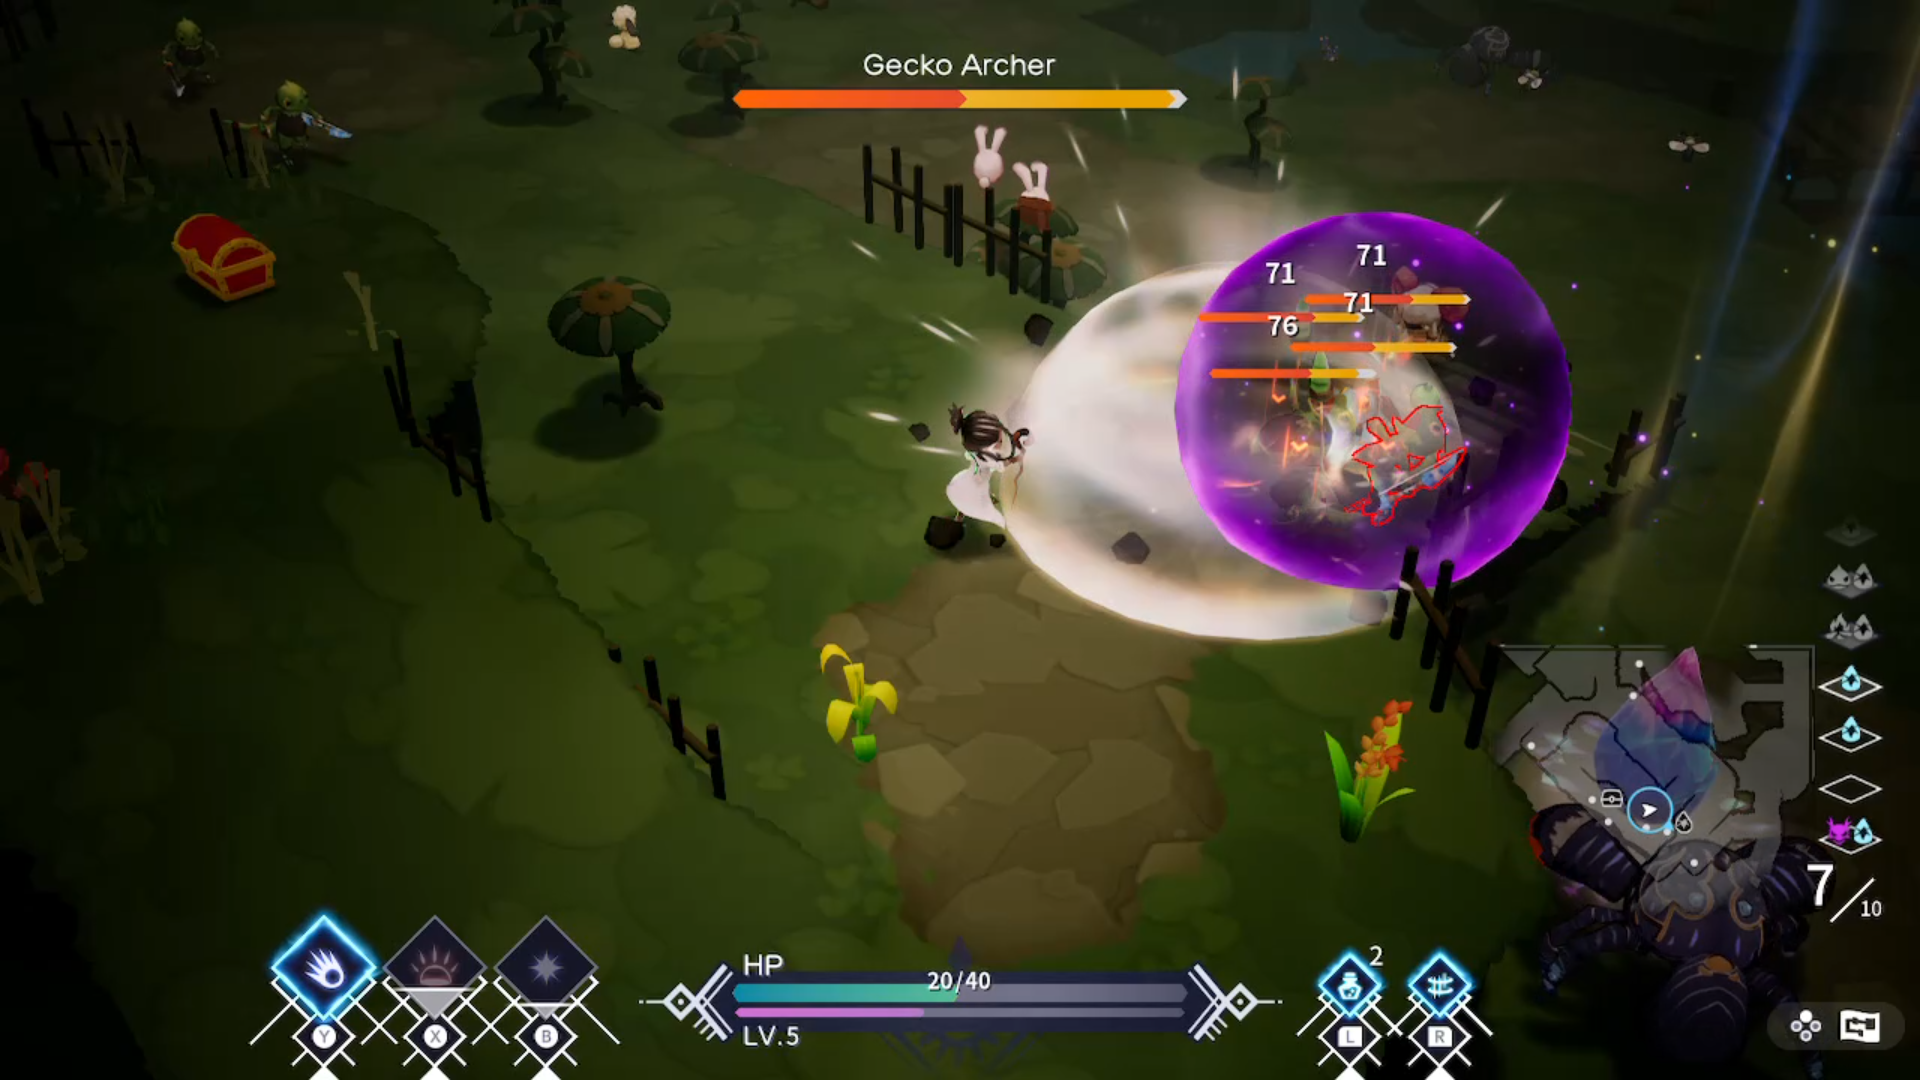
Lure enemies in with Black Hole, then wipe them out
with an Explosion
Use your Black Hole spell to suck in monsters and turn them
into prime targets for an Explosion or Magic Sphere. The
Caster boasts a good balance of regular, ranged, and support
skills. However, all his skills and spells take time to
execute, so good timing and positioning are key. Focus on
leveling up his Explosion and Magic Sphere skills to gain
even more of an advantage on the battlefield.